TURN 2
BEASTMAN
COMMAND PHASE
Before Initiative or Orders are given in the phase the Beastmen check to see if their ambushers arrive. Rolling a 4, the ambushing brigade arrives on the Beastmen players left-hand side of the table, anywhere the Beastman player wants them to appear. The ambushers, in this case, arrive close to the Summoning Circle.
As the ambushers were set up as a single party, and not split into individual units, the whole brigade of units arrive at the same time with no ambushers left in ambush.
With the ambushers on the table, the Beastman players Command Phase really begins.
The brigade of Gors, Ungors and Ungor Raiders in the Beastman centre use their
Initiative to charge the Bat Swarms at the Standing Stone.
...making contact with the swirling clouds of bats.
In the centre, the Centigor Hero passes two successful orders to move his Centigor/Razorgor brigade forward and charge into the Black Knight/Ghostly Legion brigade. By doing this, the Beastmen overrun one of the Lich's forcing it back to join a brigade of Zombies.
'Jim', the Wargor Hero on the Beastmen's right flank, orders the Minotaur's forward. Daring not to risk fate (and the command penalties) for second try, Jim turns his attention to the Shaggoth to move it up to the Minotaurs, but fails the command test. Must have been that stupid Chaos Giant unnerving him. The Beastmen right flank is now well and truly strung out with the Minotaurs, Shaggoth, Chaos Giant and Chaos Hounds all miles from each other!
Malagor, sensing the collapse of the Beastmen right flank orders on the brigade of Gor's and Chaos Spawn to bolster the Beastmen centre-right. Malagor then orders the Beastigor unit to close the line with the Minotaurs. Malagor's military acumen ensures that the Beastmen battle-line reforms somewhat from the shambolic first turn.
The Bray Shaman skulking in the Woods brays out for the Ungor Ambushers to move up to the Summoning Circle, but the Ungors fail to hear its calls.
The Beastlord General, furious with the lack of progress of his tribe, bellows at the Chaos Giant on the right flank. The brute beast turns its head towards the General, a look of stupid understanding crossing its face. The Chaos Giant then lumbers forward to line up with the Shaggoth.
The Beastlord General then bellows at the flea bitten Chaos Hounds. Despite punishing command penalties, the mutts sit up and pay attention before leaping after the Chaos Giant and lolloping up behind the Giant and the Shaggoth. The Beastmen right flank is once again safe... for now!
With the Beastmen line reformed, the commanders move forward to take positions at the front of their underlings. The Command Phase for the Beastmen comes to an end.
SHOOTING PHASE
With no unengaged shooting units within range of any enemies, the Shamans go to work casting spells. All three shaman attempt to cast
Power of the Herd on the combat at the Standing Stone and all three, including Malagor, fail their spell checks.
With that, the Beastmen shooting phase comes to an end.
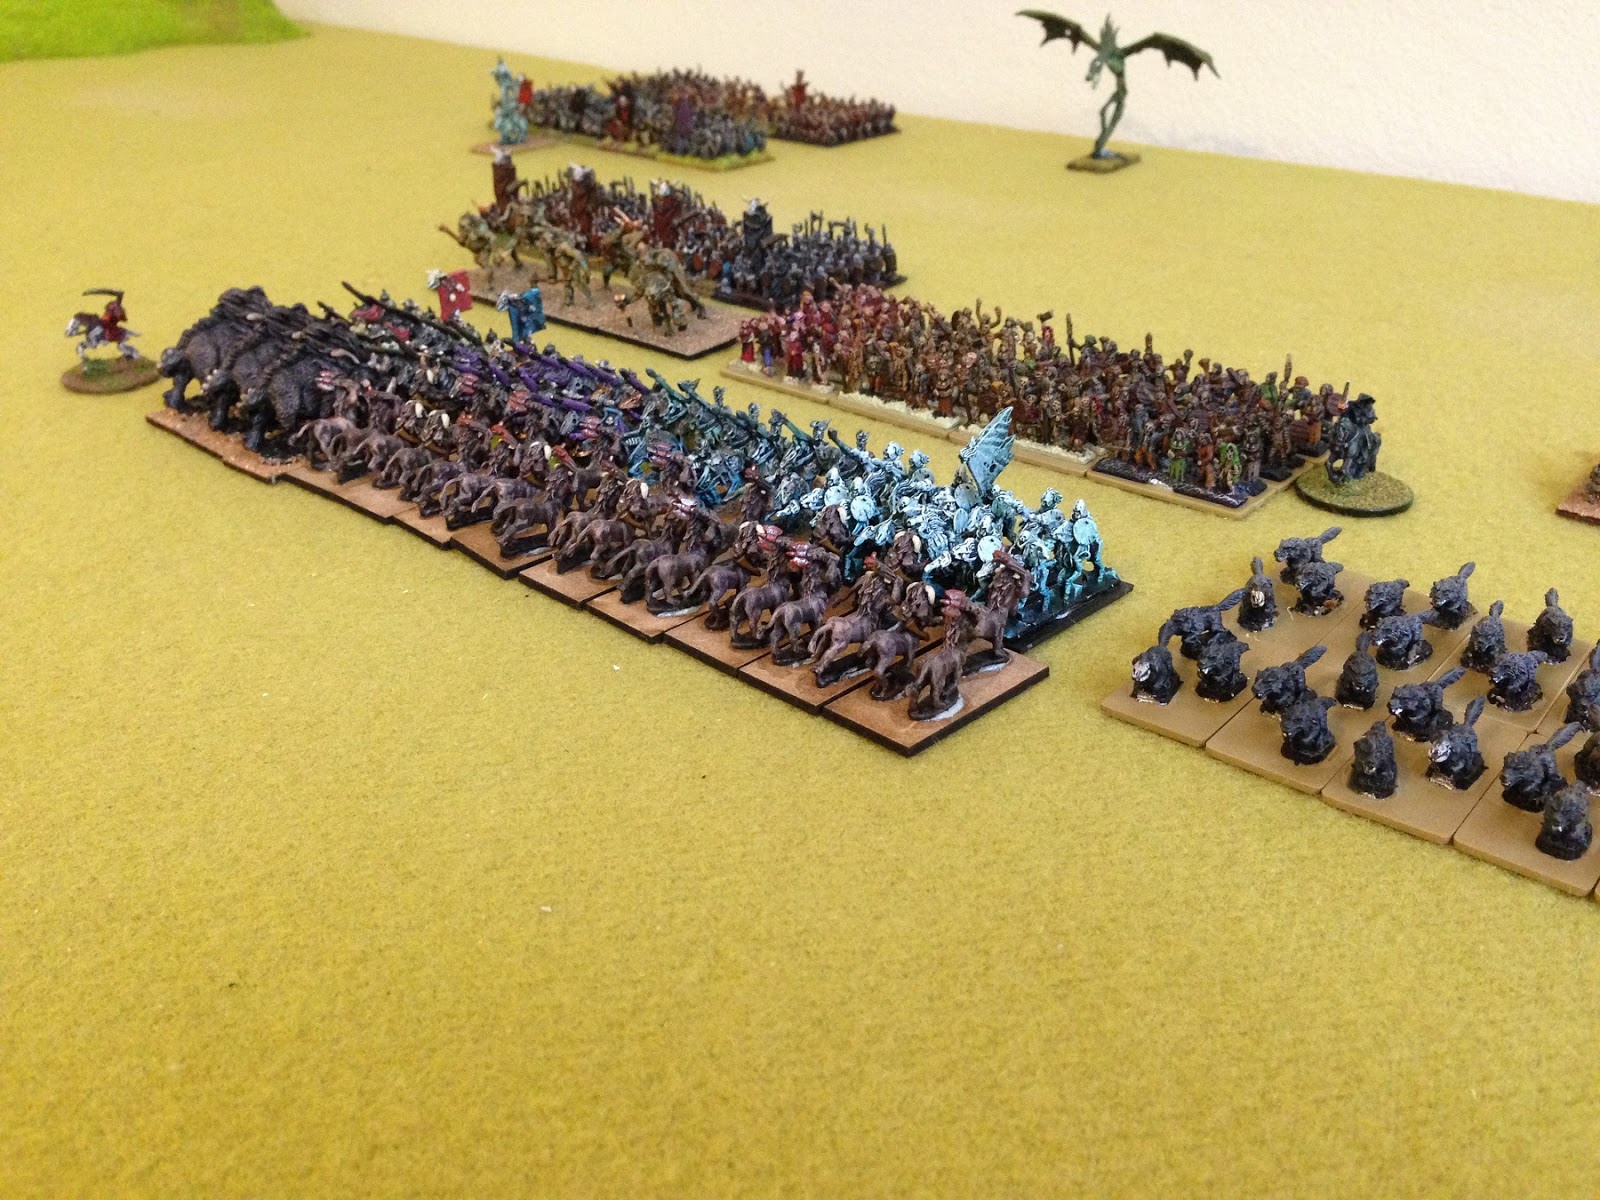
COMBAT PHASE
Two fights are going on at this time. At the Standing Stone the Gor/Ungors/Ungor Raiders attack the Bat Swarms. The other engagement involves the Centigor/Razorgors against the Black Knights/Ghostly Riders.
One of the two combats in the Beastmen turn of Turn 2
The Gors/Ungors/Ungor Raiders check for
Primal Fury results in only the Ungor Raiders going feral and receiving the option to re-roll one failed attack die per stand for the first round of combat. The resulting first round of combat sees both side fail their armour saves. As a result, the Bat Swarms loose three stands to the Beastmen's one stand (and carry 2 hits leftover).
The Bats are pushed back and the Beastmen, flushed with victory, loop and holler after them smashing home some 15 hits to the Bat's 2!
The Bats are all but wiped out with only one surviving stand falling back.
The Beastmen charge onwards for a second time and score 5 hits to the Bats 1.
With the interloper Bats wiped out, the Beastmen liberate the Standing Stone and gain control over it.
Next, the Razorgors and Centigors take on the Black Knights and Ghostly Riders. A Primal Fury check reveals that the Razorgors and a unit of Centigors go feral on the Black Knights/Ghostly Riders. The fierce fighting sees a unit of Black Knights and Centigors both lost. In addition, one unit of Ghostly Riders gets mauled loosing two stands and having 1 outstanding hit remaining. The Razorgors too suffer two hits, nearly loosing a stand. The Black Knights/Ghostly Riders get pushed back as a result and the Beastmen purse them for another round of combat.

Again the fighting is fierce and sees the Ghostly Riders badly mauled again. Of the two original units of Ghostly Riders, only one stand remains in each, and they both have outstanding hits on them. The last unit of Black Knights fairs slightly better, loosing a stand and having two outstanding hits remaining on it. However the Beastmen have had the wind knocked out of them also. One unit of Centigors is reduced to one stand and the other unit has lost a stand and has an outstanding hit.
(
Personal note: As the Beastmen player here, I stupidly forgot to have the Razorgors correctly engage the Black Knights during the pursuit. As such, the Razorgors attacked from the front rather than wrapping around to the side of the Black Knight unit they were pursuing. This meant that two stands of Razorgors missed out of attacking, potentially doing a lot of extra hits on the Knights and mauling them badly. Duh! Note to self - remember how to pursue correctly next time.)
The Beastmen elect to pursue a second time. This time two sub-engagements result due to the nature of the falling back and pursuit. The last stand of one unit of Centigors faced down to single stands each of the two Ghostly Riders units. The result was mutually ensured distruction with the loss of both the Centigors and one of the Ghostly Riders. The last stand of the Ghostly Riders gaining another hit, but surviving the fight.
Its was a fairly similar story with the Razorgors and Centigors facing off with the last unit of Black Knights. The Knights finally found the will to fight and smashed the Centigors into the dust for the loss of only one stand. This ended the fighting as the Beastmen had lost that phase of combat and the VC's didn't want to risk loosing the last stand of the Black Knights, which only had a hit left.
VAMPIRE COUNTS
COMMAND PHASE
With the Beastmen gaining control of the Standing Stone again, and holding the Summoning Circle, for the Red Duke it was time to take affirmative action. So far the VC's had lost 3 units of Bat Swarms, 1 unit of Black Knights, 1 unit of Ghostly Riders and two other units were down to a stand each. The Beastmen on the other hand however had suffered the loss of 2 units of Harpies and 3 units of Centigors.
The Crypt Horrors fortunately were in
Initiative Range of the Razorgors and, being living creatures, were able to take advantage of this and use their initiative to charge the Razorgors. The second unit of Crypt Horrors however, had their line of sight blocked and were not able to join their comrades.
One of the Mounted Wights then ordered the Dire Wolves forward and followed this up with moving the Dire Wargs right behind them. Its orders however came to an end when it tried to move a brigade of zombies. The mindless horde however didn't pay any attention and stayed where they were.
One of the Lich Lords then ordered forward a unit of Crypt Horrors forward to cover the VC centre. But it then failed when trying to follow this up with command to the Skeletons behind them.
The second Mounted Wight then took charge. Having failed its command roles the previous turn, it was hoping for greater success this time. However its calls into the ethereal night failed to rouse a brigade of Grave Guard and its was stymied of success again. The Red Dukes contempt for this subordinate was palpable.
Next the second Lich Lord had its go. However, this one too failed its first command attempt and fell silent, feeling the wrath of the Duke directed towards it also.
In disgust, the Red Duke turned its attention away for its subordinates and focused on the brigade of Skeletons near by. Rising in its saddle, it spoke to the Winds of Magic and...
.... blundered its command roll!
The VC command phase grinds to a halt with the battle line virtually unchanged from the previous turn.
SHOOTING PHASE
With no shooting units available or in range, the shooting phase turned to the magic users.
One of the Mounted Wight's reached forth into the Winds of Magic and successfully cast
Raise Dead on the combat involving the Crypt Horrors and the Razorgors. One of the Lich Lords then attempts to cast
Death Bolt on the Razorgors but failed in the attempt. The other Mounted Wight than attempted to get the Terrorghiest moving by casting
Vanhels Dance Macabre but also failed to reach the Winds of Magic. Finally, the last Lich Lord attempts to cast
Death Bolt at the Harpies at the Summoning Circle but also fails.
Finally the Red Duke himself decides to cast
Death Bolt at the single stand left from a unit of Ungors in front of the Standing Stone. However, it fails also. The bad run of rolls that its subordinates have been suffering has definitely infected the Red Duke. Quietly it resolves to sack all the subordinates and get new ones when this battle is over.
COMBAT PHASE
The only combat now is the Crypt Horrors and the Skeletons slugging it out with the Razorgors. The fighting results in the VC's scoring a total of 7 hits to the Beastmen's 3 hits, after armour saves are taken into account. Both the Razorgors and Crypt Horrors both loose a stand.
Unfortunately the Razorgors have to retreat as a result of combat. However, they are surrounded by the Skeletons and so are completely destroyed as they cannot retreat through an enemy.
Turn 2 comes to an abrupt end. So far the tally has been:
Vampire Counts losses
- 1 unit of Black Knights
- 1 unit of Ghostly Riders
- 3 units of Bat Swarms
- 1 Mortis Engine
- also two units are down to one stand each.
Beastmen losses
- 2 units of Harpies
- 3 units of Centigors
- 1 unit of Razorgors
- also one unit is down to one stand
TO BE CONTINUED