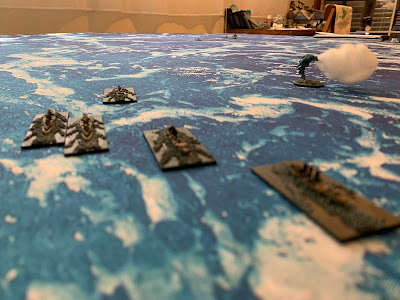
Here continues the Victory at Sea game of The Battle of Coronel. Part 1 can be found here.
TURN 1
The German squadron has the Initiative for the first turn and moves forwards, heading South West, searching for the Royal Navy.
The Royal Navy moves first, heading NE towards the smoke sighting. Glasgow temporarily detaches from the squadron to scout ahead.
The German squadron continue on their SW heading having also noticed black smoke on the horizon.
TURN 3
The German forces win the Initiative this turn.
The roll to spot the opposing side sees both sides spot enemy ships. The Germans however only spot Glasgow and Otranto in the gloomy weather.
German forces now turn to the WSW in an attempt to cut off the Glasgow & Otranto and maneuver to "Cross their T" so as to open with full broadsides.
Glasgow sees the full German squadron and raises signal flags. Flashing the Otranto, who passes the flashed message to Good Hope, the Royal Navy ships are warned of the approaching Germans.
Admiral Cradock, seeing that he is outgunned, orders a "Come About" Special Action to put distance between his ships and the Germans. His plan is to head south and hopefully rendezvous with HMS Canopus in order to even the odds for a full engagement. The "Come About" Special Action is passed to his ships, however only Glasgow and Good Hope receive the order and execute the maneuver. Otranto and Monmouth miss the signal. However seeing the other ships take a hard turn, they both commence a turn as well, just not as sharp as their companions.
As the turn occurs, the Germans steam after the Royal Navy. The lead ships of both squadrons start to get into range of one another.
Attack Phase
Leipzig opens up with its port side 4.1" secondary battery at Glasgow. The shells however fall well short of Glasgow.
Glasgow returns the favour with its A & X turret 6" guns. Both shots just miss Leipzig.
Gneisenau then opens fire on Glasgow with her A & S turret 8.2" guns as well as her portside secondary armament. Both the S turret and the portside secondary guns (their casemate location hampered by the heavy swell) fall short of Glasgow. The A turret has a better aim but also fails to score a hit on her, just falling short.
The end of the turn sees the first shooting of the engagement with no hits being scored by either side.


