TURN 3 (continued)
Attack Phase
After the attack phase of turn 2, all heavy weapons on both sides were recharging during this turn. As such, only direct fire weapons (phasers and spiral wave disruptors) were available this turn.
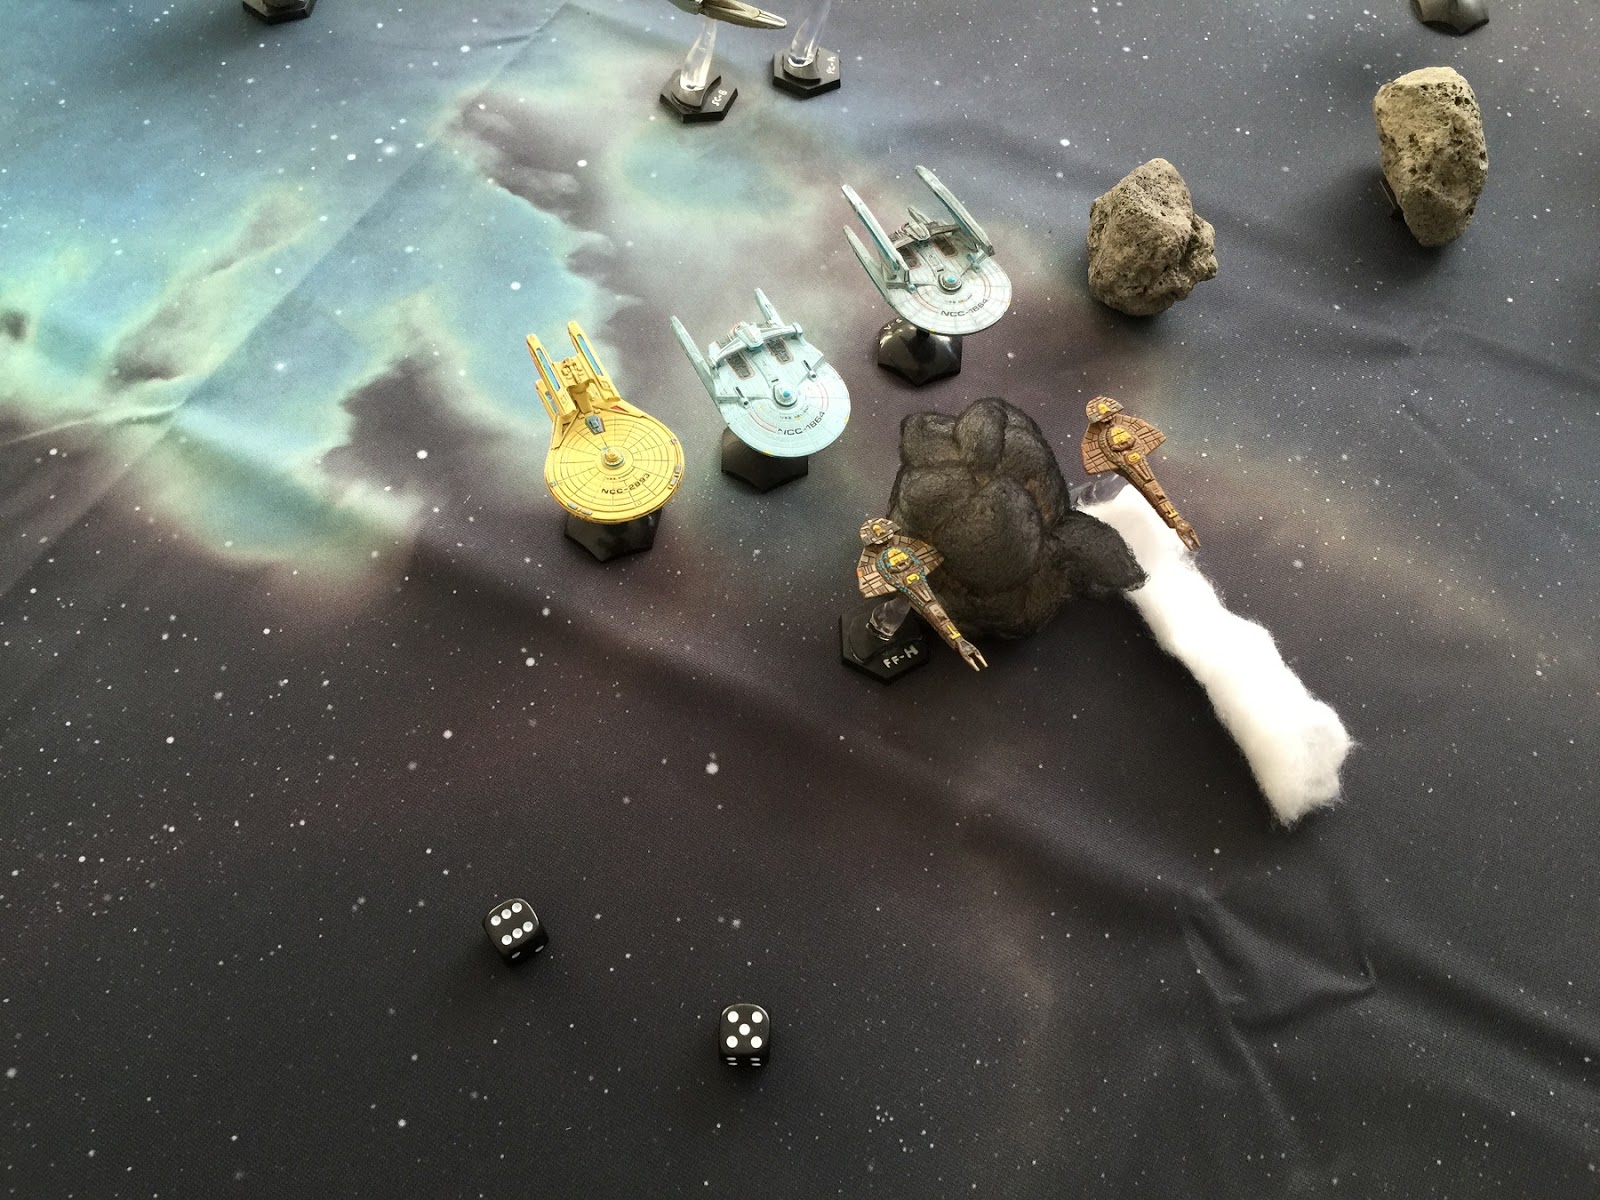
As the Fed's had the Initiative, they opened proceedings. The Fed NCL/ NCLS/ CLS (USS Plantinga, Trump and Spika) squadron fired phasers on the Cardi DD/FF's squadron pursuing the Fed scouts. This Cardi squadron held their flag ship (Cardi DD with Gul Morand on board) and so was the prime target for the Federation attack.

The Fed NCLS fired its forward and port phasers at the Cardi FF, all 7 Attack Dice managing to penetrate its shields! Due to it being in the Kill Zone of its phasers the NCLS smashed the Cardi FF doing 14 solid hits, four of which were critical hits (3 to its Dilithium Chamber and one Crew critical). Clearly the FF's engineering section was blown to pieces and the resultant hull breach decompression blasting Cardassians into space. This hammering crippled the Cardi FF leaving it with just a single hit left.


If you look very closely you can see the FF is leaking Cardassians!
At this stage in the proceedings, the Cardassian roster was starting to look very bleak! Gul Morand, who had so recently been chuffed by the destruction of the USS Hood, was beginning to look a very pale shade of grey.

Next the NCLS fired its starboard phasers at Gul Morand's DD Flagship. The DD was vulnerable due to having lost all its shields the previous turn. The USS Trump punished the Cardassian flagship pounding it to only having 5 hits left and leaving it crippled. The NCLS Trident class vessel proving its worth as a potent combat ship.

Then the NCL fired its gatling phasers at the crippled Cardassian flagship. With only 5 hits left the Cardi flagship is destroyed. Rolling on the Stricken Ship Damage Table revealed that the Cardi flagship is destroyed and removed from the table. First however, the Cardassians needed to see if they could pull a rabbit out of their collective hats and save Gul Morand. To see if the Gul was able to make an emergency transport from the stricken DD to the nearest support ship (i.e. the undamaged Cardi FF in that squadron), a Crew Check roll of 8+ was needed. Rolling an 11 the crew were able to get the Gul safely off the DD to the nearby undamaged FF (FF-H) before it was destroyed.

The NCL the fired its port phasers at the damaged FF hoping to destroy it outright. With only one hit remaining the Cardi FF broke apart (the Stricken Ship Damage Table revealing the ship to be destroyed and removed from the table).

The NCL next fired its forward and starboard phaser at the new Cardassian flagship (FF-H). Racking the Cardi FF, the NCL then fired its starboard gatling phasers at the FF leaving it with only 1 shield and 8 internal hits remaining. Moreover the FF had suffered 2 Impulse criticals and 1 Shield critical. As such it was reduced to a limping hunk of metal alloy moving along at only a max speed of 8.
Next it was the CLS's (USS Spika) turn. Firing its forward and port phasers the Cardi flagship looses the last of its shields and suffers 15 internal hits. With only 8 internal hits remaining the FF is destroyed. Rolling on the Stricken Ship Damage Table provided a result of 10, meaning the ship runs adrift and then explodes at the end of the next turn's Movement phase. If no other Cardi ship is able to get in to transport range of the flagship by then, Gul Morand will have run out of luck and his aspirations and ambitions will end here at the Battle of Setlik III.

Gul Morand may end his days here
By now, the Cardassian ship roster was looking terrible now.

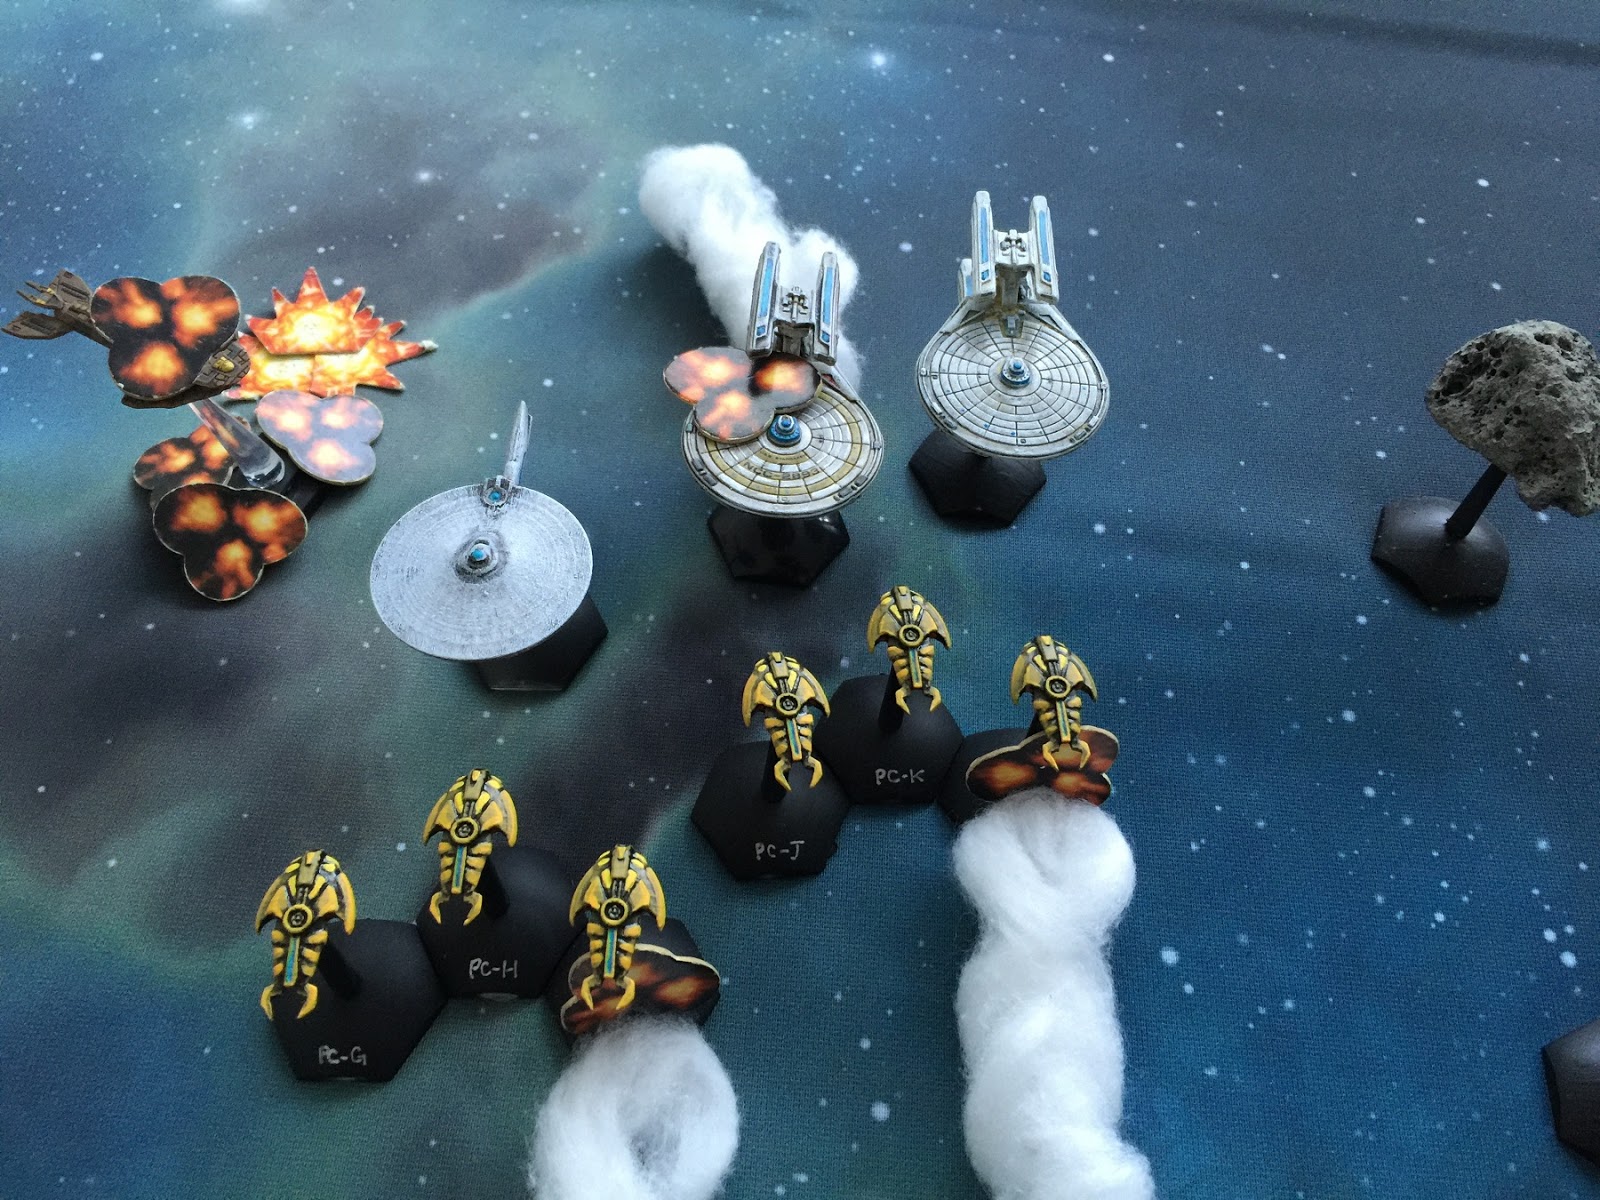
As the Cardassians were not able to return fire due having been blasted to pieces, the combat now shifted to the next Federation squadron. This involved the 2 CL's (USS Joshua Tree & Amberleigh) and the FF (USS Deneb). These faced off against two squadrons of Cardassian Hideki (PC's) and a Cardi FF & DD.

The Federation CL-B (USS Amberleigh) fired its port phasers at the nearest Hideki, but its stealth ability managed to limit the amount of damage received. Despite this the Hideki still suffered a critical hit to its Crew. Amberleigh then fired its forward phasers at the same target, causing two criticals to its Dylithium Chamber and crippling it with only a single hit remaining. Being crippled PC-L also looses a random trait. Due to plasma venting in to space PC-L looses its Stealth trait.


Lastly Amberleigh fired on FF-A, the damaged Cardi FF to its starboard, with Amberleigh's starboard phasers. The phasers all hit, smashing past the FF's shields causing 8 solid hits, four of which were criticals. FF-A was suddenly stricken, breaking apart (rolling 4 on the Stricken Ship Damage Table).

USS Joshua Tree next fired its port phasers at the closest Hideki to it. Although the stealth ability of the Hideki protected it to some extent, the Precise nature of the phasers raked the ship causing two criticals to its Weapons and Shields as well as other damage. Joshua Tree then focused on the last Hideki in that squadron firing its forward phasers at it. This Hideki suffered criticals to its Impusle and Crew.
Finally, Joshua Tree fired its starboard phasers at the Cardassian DD to its starboard. The Cardi DD only had 1 shield and 8 hull hits left. Joshua Tree racked the DD smashing its last shields down and beating it to 3 hits outstanding. This damage cripples the DD.

Lastly USS Deneb (FF-A) fired on the Cardassians. Using its port phasers Deneb fired on PC-I, the undamaged Hideki to its port side causing criticals to its Impulse Engine, Crew and Dilithium Chamber (2 criticals). This crippled the Hideki leaving it with a single hit left.

Deneb then fired its forward phasers at the closest Hideki (PC-H) doing some minor damage. Finally Deneb fired its starboard phasers at the Cardassian destroyer. With only a single hit left the DD is stricken, running adrift until the end of the next Movement Phase.

With all their capital ships now destroyed (or soon to be destroyed), the Hideki must now salvage some respect for the Cardassian 4th Order fleet. The two Hideki squadrons each now had a crippled ship in their respective squadrons. PC's G, H & I fired their medium Spiral Wave Distruptors against the USS Deneb. Deneb suffers eight solid hull hits and a Weapons critical.

Next Hideki PC's J, K & L fired their medium Spiral Wave Disruptors at the USS Joshua Tree. Joshua Tree's shields are smashed and she suffers 13 solid hits! Added to this, Joshua Tree suffered three criticals to its Crew and one each to its Impulse Engine, Shields and Weapons. This added to the Crew critical suffered earlier means that Joshua Tree was at a Crew critical level of 4. As Joshua Tree is pummeled by the Cardassian disruptor fire hull breaches occur across the ship. Localised decompression sends her crew into the icy cold of space. Joshua Tree was now crippled with only 2 hits left!
Meanwhile the Federation SC (USS Yosemite) and PC (USS Royal) open fire on the Cardi Hideki PC-K with eight phasers at maximum range. Hideki PC-K suffers four hits, two of which are also criticals to its Impulse Engine. PC-K as a result became crippled with only 7 shields and 1 solid hit remaining before it would be destroyed.


In the final engagement of the Attack Phase, the Federation FF & DD faced down two squadrons of Hideki, one squadron being down one ship.

The Federation FF (USS Perseus) fired its starboard phasers against the Hideki squadron behind the Federation DD, targeting the closest Hideki (PC-B). The Hideki suffers a number of internal hits including a critical to its Dilithium Chamber. As PC-B had already taken internal damage and a Dilithium critical previously, it was immediately destroyed. The Stricken Ship Damage Table showing that the ship was immediately lost and should be removed from the table.


USS Akira (the Akula class Federation Destroyer) then fired its port side phsaers at Hideki PC-A. Four solid hits breach past the shields of PC-A, three of which caused criticals to Impulse (two criticals) and Shields (one critical).

Akira then fired its forward phasers at PC-E which had been hit previously by the USS Perseus.

PC-E suffered shields and internal damage including critical damage to its Impulse Engines (2 criticals) and Shields. This must be a system design fault on the Hideki given how many times impulse engines and shields have suffered the same fate. The damage to PC-E was enough to cripple it and leave only one remaining hit outstanding.

With this salvo over the Federation squadrons completed their attacks. Now the remaining Cardassian squadrons completed their attacks.
Of the two Hideki squadrons chasing the Federation DD and FF only two ships remain in each squadron. Moreover, one of those Hideki was crippled.

Hideki PC's D & E open fire on the USS Perseus with their Spiral Wave Disruptors scoring ten hits to shields and two solid internal hits, one of which does a critical to the Impulse drive destroying Perseus power relays and limiting its movement speed to 10.
Smelling blood in the water, the second squadron of Hideki (PC's A & C) open up on the Perseus also, their disruptors bypassing Perseus faltering shields. Perseus suffers 8 more internal hits crippling her and leaving only 5 hits left. Perseus also suffers critical hits to its Shields (1 critical), Impulse (2 criticals), and Dilithium Chamber (2 criticals) taking down what's left of her shields. With this critical damage Perseus also suffered an additional two hits taking her remaining total down to just 3 hits left before she would be destroyed.

With that the Attack Phase came to an end.
With all Cardassian capital ships destroyed and half of the Hideki fully operational (four Hideki were also crippled) the Cardassians decided to retreat before they suffered more damage. The sound Hideki jump to warp heading for the Cardassian border while their crippled brethren head back for the asteroid field hoping to allude detection there. Meanwhile the Federation forces regroup and rescue the escape pods before regrouping with the USS Hood saucer section and escorting it back to Starbase 375.
With that the game came to an end. Gul Morand was killed in the explosion of his last flagship. The Federation had carried the day and bloodied the nose of the Cardassians taking vengeance on behalf of the slaughtered settlers of Setlik III.